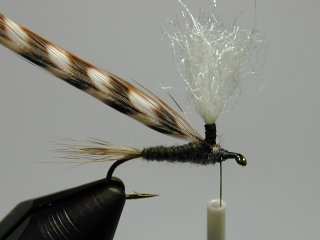
For this post I have decided to demonstrate how to tie a sow bug.
This fly is my go to on the lower Provo River. That and I actually have really good luck using the parachute adams. The sow bug is relatively easy to tie. I have found that for smaller sized hooks, at least on the lower Provo, that a grey or dark color works best. Then for larger hook I use more tan colors. My suggestion would be to follow these step by step instructions on how to tie a sow but but base the colors used on what works best where you fish.
This step by step tutorial on how to tie a sow bug is from Fly Tying 123. They offer many other tutorials that I use and will probably post more from them later. Now on to the instructions. This step by step instruction using a rainbow pattern and as mentioned earlier I find using grey, tan or black on the Provo River works great.
Material
Hook: scud hook #14-16
Thread: Red 8/0 (as I mentioned I often use grey, tan and black)
Rib: Small gold wire (this color can be changed based on thread and dubbing color)
Center Strip: Black Flashabou
Dubbing: Rainbow Sow-Scud (again I tend to use grey, tan and black colors)
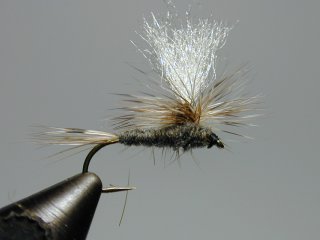
Step-by-Step Instructions
1. Wrap lead on the hook shank

2. Start thread in from of the lead and cover it with the thread

3. Smash the lead flat on the hook to flatten the overall profile of the fly.

4. Tie in the black flash lined up with the top of the hook. Tie in the wire on the far side of the hook.

6. Loosely apply the dubbing to the thread.

7. Dub the entire length of the hook. Be careful not to crowd the eye

8. Pull the black flash directly over the top of the fly and tie off.

9. Wrap the wire four or five times over the dubbing and tie off behind the eye. Be sure to wrap tightly as this will keep the fly intact.

10. Whip finish once, but don't cut the thread.

11. Using velcro, pick the dubbing.

12. While holding the dubbing away from the fly, trim each side

13. Whip finish once more and apply head cement

There you have it. A step by step tutorial of how to tie a sow bug. Enjoy.